Low-cost stereo camera
Contents
Introduction
It's possible to find action cams for few dozens of euros. Building such a low-cost stereo camera could be of big interest for 3Denlive development, because of cumulative problems that need to be fixed.
Here is the short story of my experiments. It will be updated during time.
I bought 2 full-options cameras for €70 each (with an Amazon 30% promo):
- 20Mpx photos
- 4K videos
- rear preview tactile screen
- remote control
- a lot of small equipment provided
- a lot of filtering capabilities: HDR, Stabilization, Lens Distortion Correction, etc
Remark: first price of this action cam with less options is €36, and the first price including a remote control is €40 (with an Amazon 30% promo).
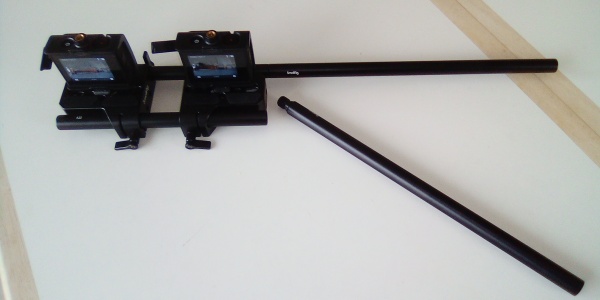
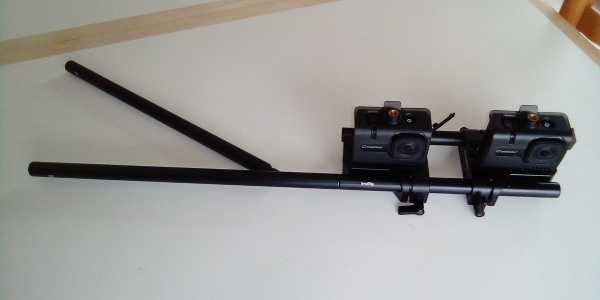
I also bought a small equipment to build a stereo slider:
Together with 2 SD memory cards the total cost is around €270.
First contact
Assembling the stereo slider is just a play for a kid.
Remark: I had to mount each camera on a hole near the border of the base plate, because the central one doesn't offer a sufficient plan surface to properly sit the tiny base of the camera.
Good news: the remote control is firing both cameras at the same time!
It's not enough synchronized to take a shot of a fast moving object, but comfortable to take multiple shots of a scene with only one click at each, keeping the cameras very stable.
Video mode is a bit more capricious: both cameras are often properly starting together, but sometimes only one is stopping while the second one still records. It's thus necessary to end it with its own button to avoid restarting the first one.
Tiny technical problem: the plastic USB socket cover is not opening enough to plug it comfortably. It's a risk for the USB plug to be altered in time. Fortunately, the link of this plastic cover is a bit elastic. It may be lengthened by pulling on it without breaking.
Second good news: when deleting all files from the SD memory card, the numbering restarts to one. This enables to get a proper numbering for each shooting series.
Horizontal alignment
Using one of the rods properly put on the rear screens of the cameras, it's possible to get a first honorable alignment of the cameras, leading only a very small convergence problem. It's possible to adjust the convergence doing several test shots. But, it's hard to be perfect. This means little perspective problems to deal with afterward.
The slider then offer the possibility to change comfortably the stereo base without damage on the convergence adjustment.
Vertical alignment
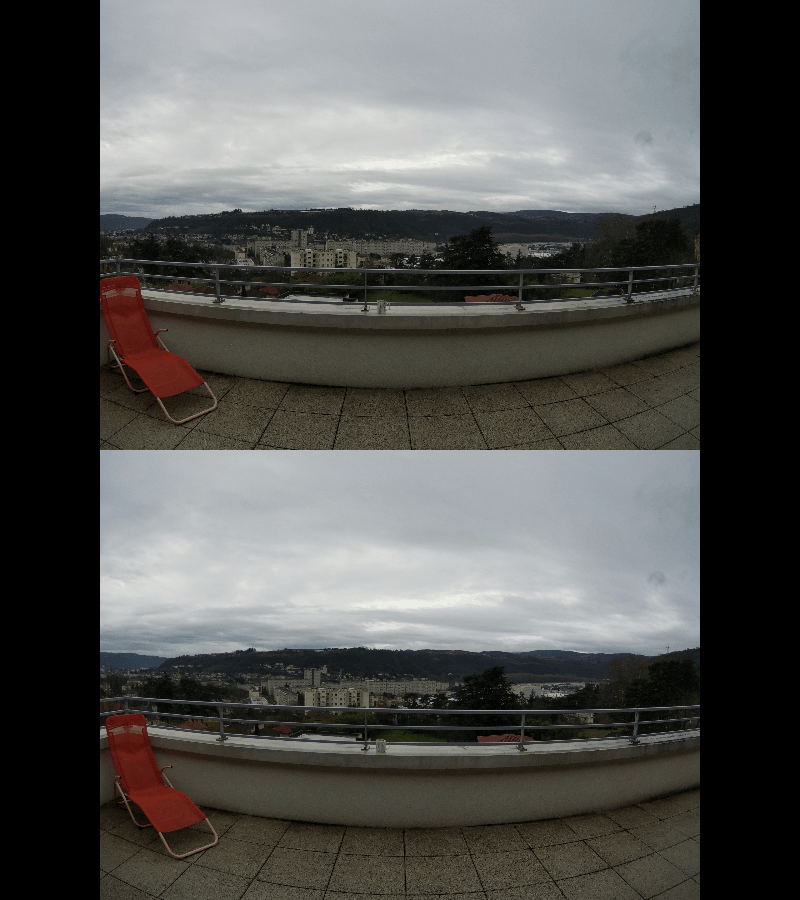
On my cameras I get a vertical misalignment. I first thought is was because of the plastic cages. But, when exchanging the cameras, the vertical alignment is also reversed. It's thus certainly a problem like a lens-shift due to a not homogeneous built of the cameras. At this time, I didn't find a comfortable way to fix this problem. Using one of the provided holders with vertical rotation capabilities will certainly be even more complex to adjust. Without a solution, stereo views need to be vertically aligned in a software post-processing.
Distortions
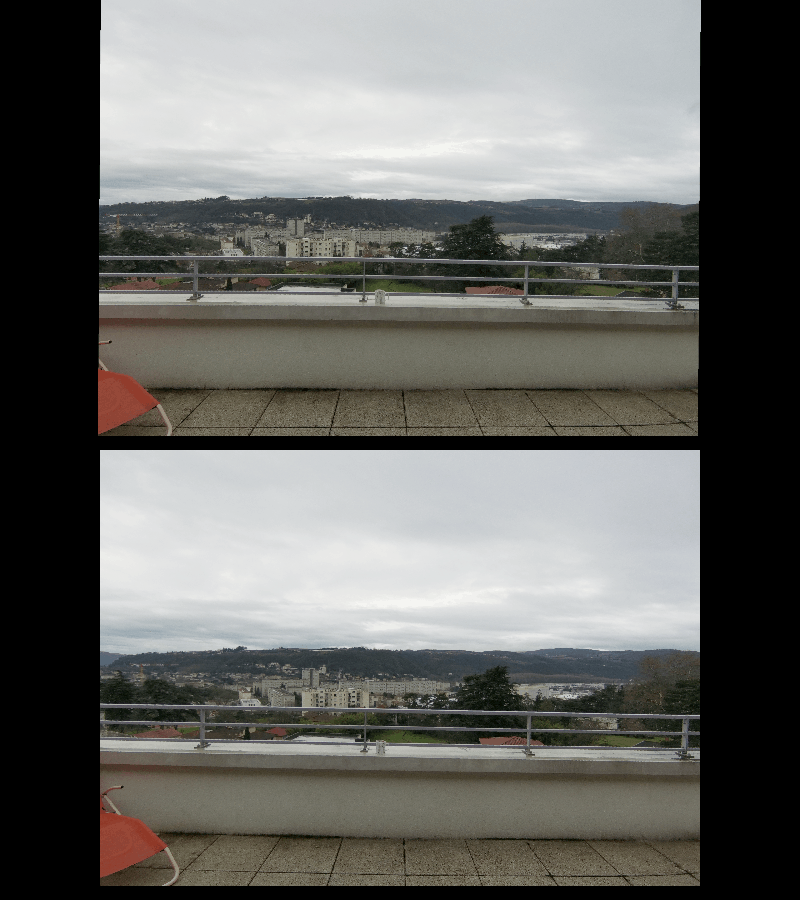
I obtained quite comfortable stereo views, but the fish-eye distortions makes the surrounding very hard to align, thus a bit uncomfortable to view.
I think this problem on surrounding parts is aggravated by the above building lens-shift. Doing a lens-correction to avoid curvature of straight lines is then very tricky! It's often better to keep the fish eye distortions than trying to rectify the images.
Using the built-in rectification parameter doesn't bring a good solution: it's not perfect, there are still some small curvatures, and it introduces more complex small local distortions between views that would be impossible to fix afterward.
Image quality
Zooming at the pixel level there is a lot of grain. It also shows small color layers bad alignments adding tiny pink and yellow fringes on the high contrasted lines, especially on the borders of the pictures.
There is no sun for my first experiments, but images seem to be a bit under-exposed, with quite a low contrast, and colors are also a bit dull. This could mainly be improved either by cameras exposition parameters or by a software post-processing.
For the price, 4K images are quite good. I can't expect such low-cost cameras to provide with top-quality results.
First raw stereo (vertical misalignment is certainly due to a kind of built-in lens-shift difference):
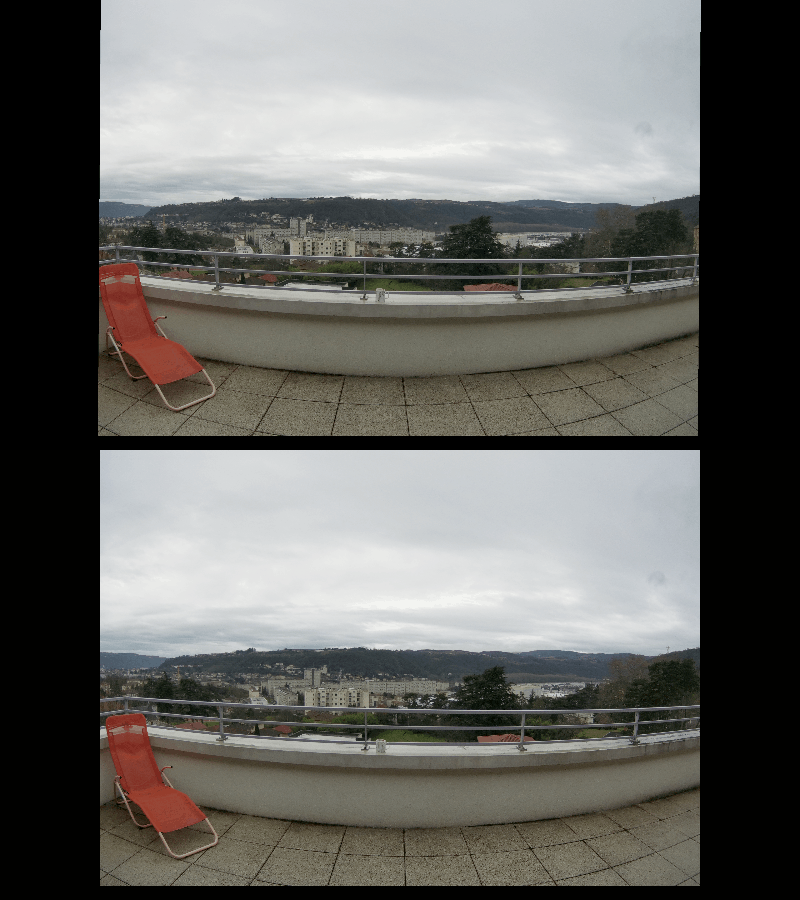
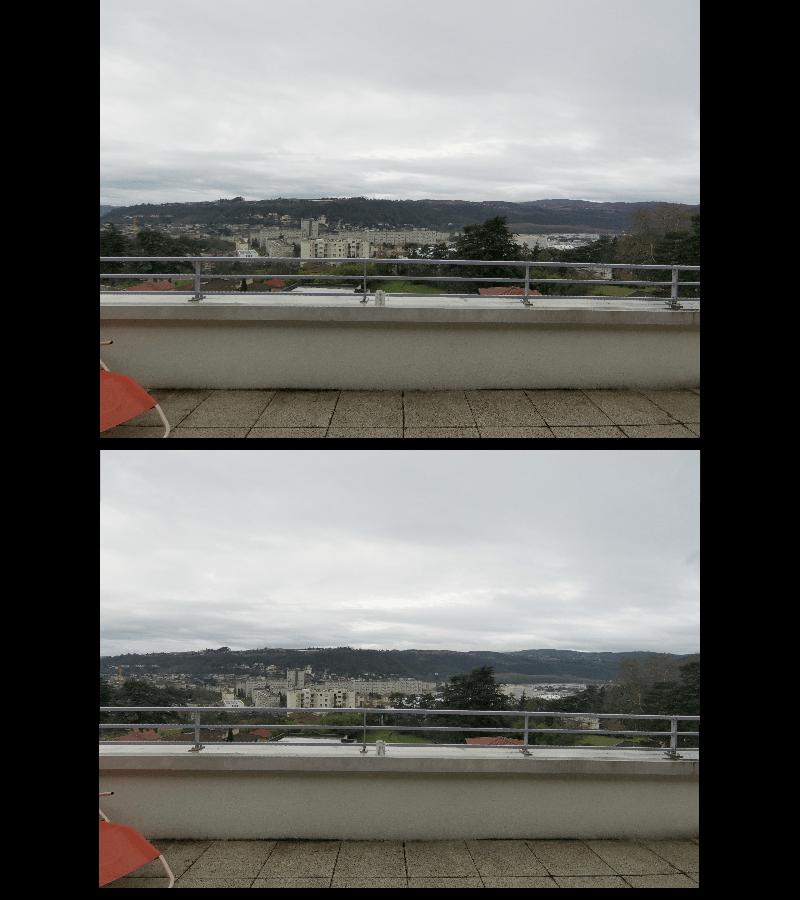
First aligned stereo (style something like a convergence to fix):
First rectified stereo (certainly needs to apply a different lens correction on each view):
Applying a different lens correction on left and right views is a bit tricky, but should enable to nearly fix all problems:
First video
I discovered that the video recording is starting when the remote control button is released (not when pressed). Holding it down for one second before releasing it enables both cameras to be ready and start more synchronously.
Subject: Cascades du Hérisson (Hedgehog Waterfalls), l'Eventail (Fan), Jura, France
Raw videos: NORM0017_Left.MP4 NORM0017_Right.MP4
Processing:
- brightness, contrast, and saturation a bit enhanced
- different left and right lens correction manually calibrated (not already released in 3De at the date of this video)
- sound added afterward (sound feature currently in development in 3De)
Result: 3De_Herisson01_17_P_WithSound.mp4
Next features certainly required:
- image stabilization
- automatic lens correction calibration (it's a bit tricky to tune it manually)
Remark: window violation on very close objects is a bit inevitable to deal with stereo depth and positive parallax.
(TO BE CONTINUED)
